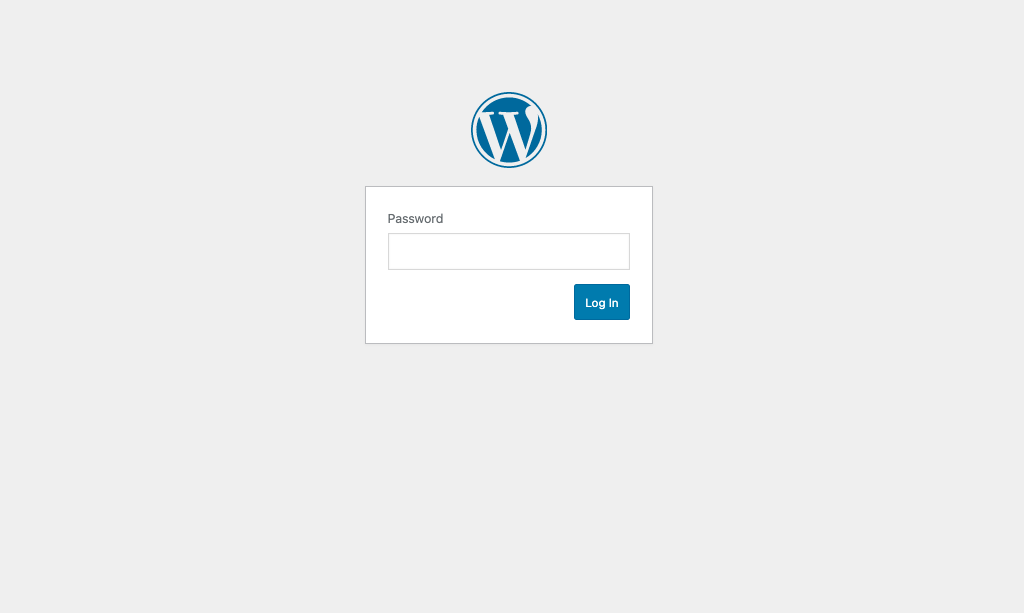
I always password protect my WordPress website while I’m developing it. It’s a good way to prevent unauthorized people to visit your site before it’s officially launched.
In this tutorial, I’ll use the free plugin Password Protected, that I have been using for several years, to password protect a WordPress website in just a couple of minutes.
I will also show how you can let logged-in Administrators or all logged in users bypass the password protection. You can also choose to allow specific IP addresses, RSS Feeds and REST APIs to access your website while it’s password protected.
In the end, I will style the login screen design using the free plugin Custom Login Page Customizer – Login Designer.
👉 Related Post: How To Password Protect Single Pages and Posts in WordPress
Join +3 860 subscribers!
Password Protecting Your WordPress Website, Step by Step
- Go to your WordPress dashboard and head over to Plugins » Add New
- Search for Password Protected and install the plugin developed by WPExperts.

- Click the Activate button (relax, your website will not be password protected by default).
- Go to Settings » Password Protected
- To enable password protection, just tick the Password Protection Status checkbox to be Enabled and enter a secure password in both New Password fields (this will not affect your WordPress user password)

- Click Save Changes to password protect your entire WordPress website.
Clear your website cache and your browser cache and preview in frontend.
⚠️ Pro Tip: This will only password protect all your WordPress pages, posts, products and other custom post types. It will not protect your media files, like images, pdf files, videos and such, in your upload folder. To protect your files from downloads and hotlinking, I recommend the plugin Prevent Direct Access Gold.
Advanced Password Protection Settings for Your WordPress Website
There are a few additional settings in the plugin that I find really useful.
The first one is the Protected Permissions settings. I always tick the Allow Administrators checkbox. That means that the WordPress admins doesn’t need to enter the password for the website. You could also tick Allow Logged In Users to extend that to all WordPress user roles.
My second favorite setting is Allow IP Addresses. Here, I can add my own IP address (your IP is displayed below the field to save you some time) and also the my clients IP addresses. This way, neither me or my clients need to enter the password. This is a nice timesaver.
You can also tick the checkboxes to allow RSS Feeds and REST API access. Last, you can Allow Remember me and set the number of days for the Remember me feature.
Styling Your WordPress Login Page Design
You can style your Password Protected login page using the free plugin Login Designer.
Before (default login page)
The default WordPress login page contains the WordPress logo and the blue WordPress button style.
- Go your WordPress dashboard and head over to Plugins » Add New
- Search for Custom Login Page Customizer – Login Designer and install and activate the free plugin developed by LoginDesigner.

- Go to Appearance » Password Protected to design your login page.
Now you can customize your:
- Logo styles
- Label Styles
- Field styles
- Button styles
- Remember me styles
- Remember me label styles
- Form background
- Body background
💡 Pro Tip: You can use the same Login Designer plugin to create custom designs for your native WordPress admin login page.
That’s all for today!
I hope that you enjoyed this post. Subscribe to DiviMundo on YouTube and join our Facebook group for more crisp content on WordPress and web design.
👉 Related post: How To Prevent Search Engines From Indexing Your WordPress Website
👉 Free course: Create a website from scratch with Divi


0 Comments